If your phone call recordings sound too quiet or distorted, the problem is almost always the microphone input level on your computer. Setting it too low gives you a barely audible recording. Setting it too high causes clipping and distortion that no amount of post-processing can fix.
The good news: adjusting it takes about 30 seconds on both Windows and Mac. Here is how to do it, plus how to tell when you have it right.
When You Need to Adjust
There are two symptoms to watch for:
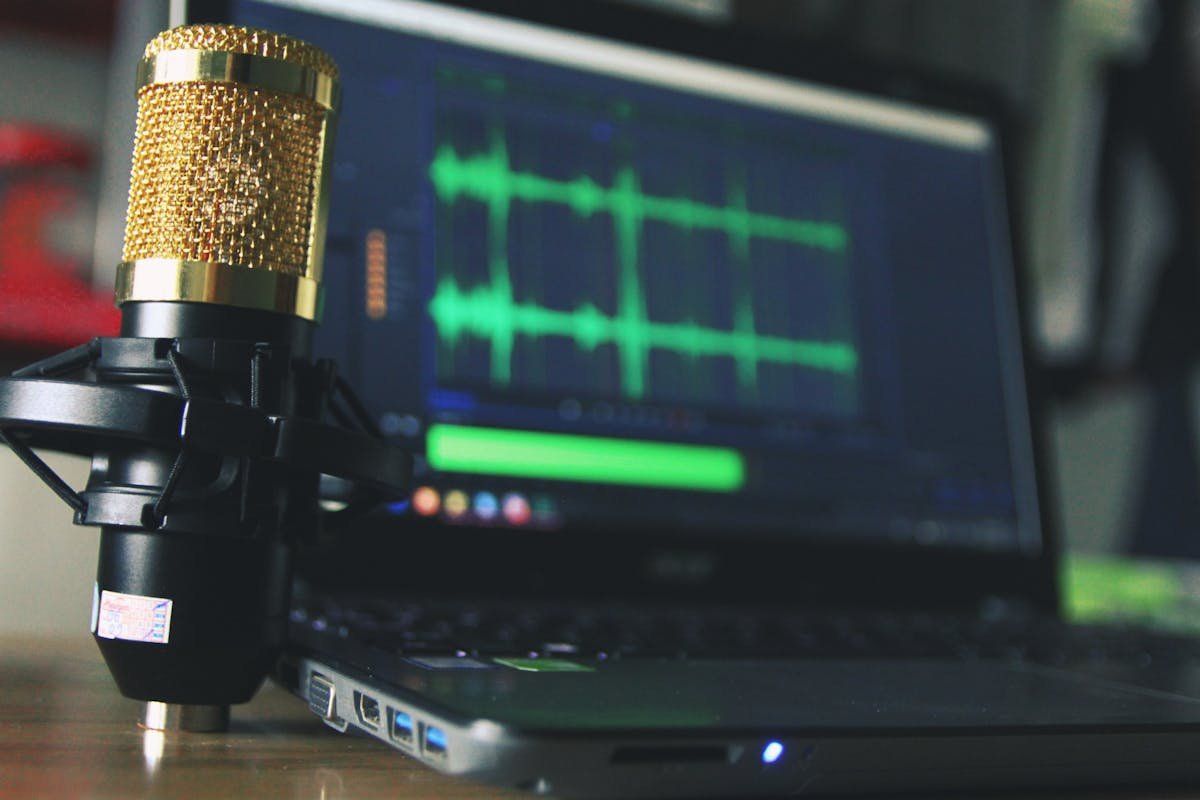
Too quiet. You play back a recording and have to crank the volume to hear anything. If you open the file in audio software, the waveform is a thin line hugging the center.
Too loud (clipping). The recording sounds harsh or crunchy. Loud parts are distorted. In an audio editor, the waveform is smashed flat against the top and bottom edges — the signal exceeded what the system could capture, and the peaks were chopped off.
The goal is a strong, clean signal without clipping. You want your loudest peaks landing around 50-80% of the maximum level. In decibel terms, that means peaks between -12 dB and -6 dB. This leaves enough headroom for sudden loud moments while keeping the signal well above the noise floor.
Adjusting Microphone Volume on Windows
Windows 11
- Open Settings (Win + I).
- Go to System > Sound.
- Scroll down to Input and select your microphone device.
- Use the Input volume slider to raise or lower the level.
Windows 10
- Open Settings (Win + I).
- Go to System > Sound.
- Under Input, choose your microphone from the dropdown.
- Click Device properties.
- Use the Volume slider to adjust.
Advanced Controls (Windows 10 and 11)
For finer control, use the classic Sound panel:
- Right-click the speaker icon in the taskbar.
- Select Sound settings, then scroll down and click More sound settings (Windows 11) or click Sound Control Panel (Windows 10).
- Go to the Recording tab.
- Double-click your microphone device to open its Properties.
- Go to the Levels tab.
Here you will find two controls:
- Microphone — the main input volume slider (0-100).
- Microphone Boost — adds hardware-level gain in +10 dB increments.
Microphone Boost is useful when the signal is extremely weak even at 100% volume, but it amplifies everything, including background noise and electrical hum. Use it sparingly and only when the main slider is not enough.
Adjusting Microphone Volume on Mac
System Settings
- Open System Settings (click the Apple menu, then System Settings).
- Click Sound.
- Select the Input tab.
- Choose your microphone or audio input device from the list.
- Drag the Input volume slider to adjust.
The input level meter next to the slider shows real-time activity. Speak or play audio and watch the meter respond.
Audio MIDI Setup (Advanced)
For more precise control, open Audio MIDI Setup (found in /Applications/Utilities/). This utility lets you select specific sample rates and bit depths and adjust input gain for devices that support it. It is especially useful when working with external audio interfaces or USB audio devices.
Setting the Right Level
The best way to dial in your level is to watch the meter while sending a real signal:
- Open your recording software — Audacity, OBS, or another app that works for your setup.
- Start a test call, or speak into the microphone at the volume you expect during actual use.
- Watch the input level meter in your software. Aim for peaks that land in the green-to-yellow range. The meter should bounce actively but never hit red.
- In Audacity specifically, the recording meter should peak between -12 dB and -6 dB. If it regularly hits 0 dB, you are clipping.
- Go back to your system settings and nudge the input volume up or down until the meter sits in the right zone.
It is better to record slightly too quiet than too loud. A quiet recording can be amplified later with minimal quality loss. A clipped recording is permanently damaged.
Common Problems
No signal at all. The most likely cause is having the wrong input device selected. If you have multiple audio devices connected (built-in mic, USB headset, external adapter), check both your OS sound settings and your recording software to make sure they are pointed at the correct device.
Very quiet even at 100%. On Windows, try enabling Microphone Boost in the advanced Levels tab (see above). On Mac, verify that your input is not set to Line In when you need Mic In, or vice versa. These are different signal levels, and using the wrong one will result in a very weak or very hot signal.
Crackling or distortion. The input level is too high. Reduce the input volume slider. If you have Microphone Boost enabled on Windows, try lowering it by one step or disabling it entirely.
Electrical hum or buzz. This is often caused by a ground loop, which happens when two connected devices have slightly different electrical ground potentials. Try plugging into a different USB port. If the problem persists, a USB audio adapter with galvanic isolation can break the ground loop. Moving the audio cable away from power cables can also help.
If You Are Using RECAP S2
RECAP S2 outputs a line-level audio signal, which is significantly stronger than a typical microphone signal. This is by design — it gives you a clean, full-strength signal — but it means your input level settings will be different from what you would use with a regular mic.
- If the recording is distorted: reduce the input level to around 50% as a starting point.
- If the recording is too quiet: increase toward 75-80% and test again.
Because the signal is line-level, you should generally not need Microphone Boost enabled on Windows. If you do, something else may be misconfigured.
For complete setup instructions — including how to connect RECAP S2 to your computer and configure your recording software — see our computer recording guide.
FAQ
Should I use Microphone Boost? Only as a last resort. If your signal is too quiet with the main volume slider at 100%, Boost can help, but it adds noise proportional to the gain. Try one step of Boost (+10 dB) and see if the noise is acceptable. If you need more than one step, the root issue is likely an impedance mismatch or wrong input type, not insufficient gain.
My USB device does not show a volume slider in system settings. Some USB audio devices handle gain internally and do not expose a system-level volume control. Check whether the device came with its own software or control panel — the volume adjustment may live there instead. If there is no software, the device may have a physical volume knob or be fixed-gain by design.
Does this apply to Mac and Windows the same way? The concept is identical: you are adjusting how much the system amplifies the incoming signal before it reaches your recording software. The only differences are where the controls live in each operating system. The target levels (-12 dB to -6 dB peaks) apply regardless of platform.