You bought the recorder for a reason. Interviews, field notes, client sessions, lectures, meetings you couldn’t afford to forget. The Zoom H1n, the Sony ICD-UX570, the Olympus WS-853 — solid hardware, reliable audio, a physical button you press and know it’s capturing everything.
And now you have an SD card full of files named ZOOM0001.WAV.
Maybe 20 files. Maybe 80. You’ve listened back to three of them, tops. The rest sit on the card — or in a folder you copied to your desktop once and haven’t opened since. Every one contains a real conversation. None of them are searchable, summarized, or organized in any useful way.
This post is about closing that gap: getting recordings off your device, transcribing them, and turning them into something you can actually search through months later.
Getting Files Off the Recorder
Before transcription, you need the files on your computer. Every major recorder brand handles this slightly differently.
Zoom H1n / H1 Essential / H4n / H6
Connection: Micro-USB cable (H1n) or USB-C (H1 Essential). You can also pop the microSD card out and use a card reader — faster for large batches.
File format: WAV by default (16-bit or 24-bit, 44.1kHz or 48kHz). These are large, uncompressed files — a 30-minute recording is roughly 300MB at 16-bit/44.1kHz. You can also set the Zoom to record MP3, but most users stick with WAV for quality.
Folder structure: Files land in /STEREO/FOLDER01/ on the SD card. Naming follows ZOOM0001.WAV, ZOOM0002.WAV, and so on. Not helpful for identification — you’ll want to rename them or let your transcription tool handle labeling.
Sony ICD Series (UX570, TX660, PX Series)
Connection: Built-in USB connector (slides out of the body on most ICD models) or micro-USB cable depending on the model. Some newer models use USB-C.
File format: MP3 by default (128kbps or 192kbps). Sony also supports LPCM (WAV equivalent) if you change the recording mode in settings. Most Sony users end up with MP3 files, which are smaller but slightly lower quality than WAV.
Folder structure: Files are organized in folders labeled A through E (FOLDER01 through FOLDER05). Naming typically uses date-based file names (e.g., 261014_0001.mp3 in YYMMDD format) or similar. Sony’s built-in folders are meant for sorting at the device level, but most people just dump everything into Folder A.
Olympus WS / LS Series (WS-853, WS-882, LS-P5)
Connection: Micro-USB (WS-853) or USB-C (newer models). SD card reader also works.
File format: WAV or MP3, depending on your recording mode. The WS-853 defaults to MP3; the LS-P5 supports PCM, FLAC, and MP3 (check your recording mode settings). Older Olympus recorders used WMA — if you have files ending in .wma, they’ll still work with most transcription tools.
Folder structure: Folders labeled A through E on the device, with files named REC_0001.MP3 or similar. Olympus also has a “Music” folder that confuses people — your recordings won’t be there.
The Quick Version
Plug in the USB cable or pop out the SD card. Copy the audio files to a folder on your computer. That’s it. Don’t worry about organizing them yet — the transcription step will make them identifiable.
If your recorder is old enough that it uses a proprietary USB connector or software (some vintage Olympus models), a card reader with the SD/microSD card is the universal workaround.
Transcription Options for Recorder Files
You have files on your computer. Now you need text from them. The options fall into three categories.
Free and Local: Buzz
Buzz is a free, open-source desktop app that runs OpenAI’s Whisper model on your own machine. It handles batch transcription — select multiple files, hit start, come back when it’s done.
Strengths: No upload required, no file size limits, no account needed, entirely free. Handles WAV, MP3, and most audio formats. Speaker diarization is available with some configuration.
Limitations: Processing speed depends on your hardware. A 30-minute WAV file might take 10-15 minutes on a modern laptop. More importantly, Buzz gives you transcripts — text files. No summaries, no search across files, no archive. You end up with a folder of .txt files next to your folder of .wav files.
For one-time transcription of a few files, Buzz is hard to beat.
Cloud Batch Tools: TurboScribe, Sonix
Cloud-based tools like TurboScribe and Sonix let you upload multiple files and get transcripts back quickly. They run on server-grade hardware, so processing is fast — a 30-minute file typically finishes in under a minute.
Strengths: Fast processing, good accuracy, batch upload support, export in multiple formats (DOCX, PDF, SRT).
Limitations: Same core gap as Buzz — you get transcripts, not a system. Fifty uploaded files become fifty separate transcripts. Searching across them means opening each one individually. No automatic summaries, no contact linking, no persistent library that grows over time.
These tools are excellent at transcription. That specific job, they do well. The question is whether transcription alone is what you need.
A System: RECAP
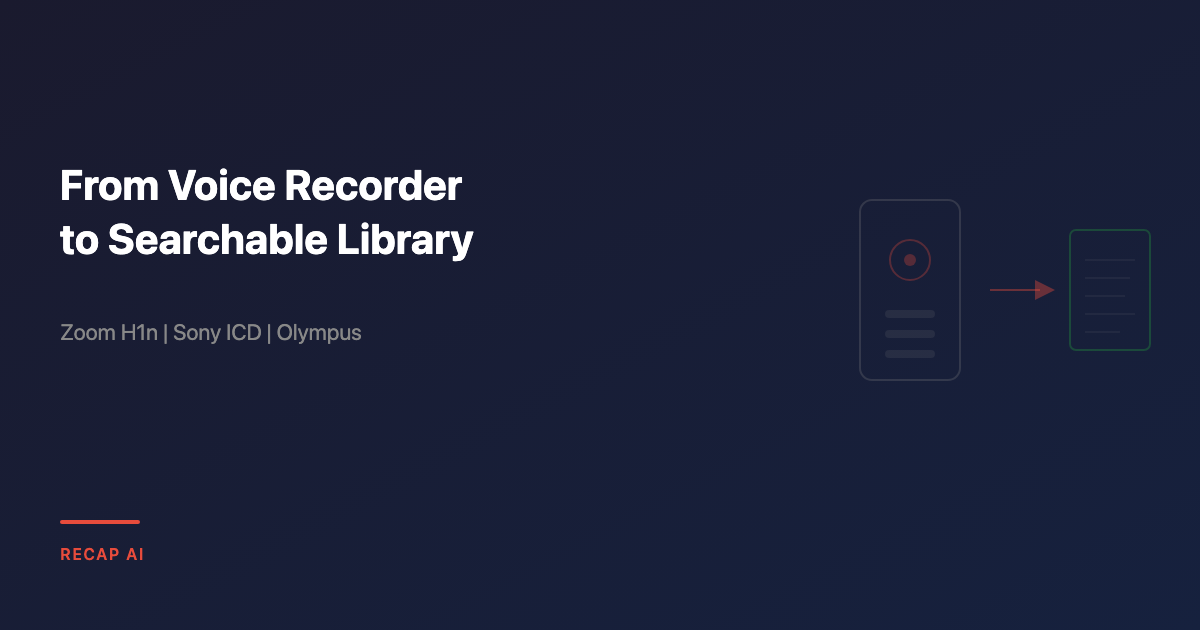
RECAP treats transcription as step one of a larger workflow. Upload your files — WAV, MP3, M4A, whatever your recorder produces — and the system transcribes them, generates structured summaries, and indexes everything for full-text search.
The difference shows up at scale. After uploading 40 files from your SD card, you don’t have 40 separate transcripts. You have a searchable library. Type “contract renewal” into the search bar six months later, and every recording where those words appeared surfaces — with timestamps, context, and a link to that exact moment in the audio.
How to Build a Searchable Library of Your Audio Recordings covers the full concept. This post focuses on the practical path from hardware to library.
The Workflow: SD Card to Searchable Library
Here’s the step-by-step for getting a batch of voice recorder files into a searchable, summarized library.
Step 1: Copy Files to Your Computer
Pop the SD card from your recorder (or connect via USB). Open the storage in your file explorer and navigate to the recording folder. Select all audio files and copy them to a folder on your desktop. For Zoom recorders, that’s /STEREO/FOLDER01/. For Sony, it’s one of the letter folders. For Olympus, same pattern.
If you have recordings across multiple folders on the device, pull them all into one folder on your computer. Keeping them together makes the next step simpler.
Step 2: Upload to RECAP
Open RECAP and drag your files into the upload area. You can upload one file or twenty at once. WAV, MP3, M4A, WMA, OGG, FLAC — standard audio formats are supported. Those 300MB WAV files from your Zoom H1n? They’ll upload and process just fine.
Step 3: Wait for Processing
Transcription and summarization run automatically. Processing time depends on recording length — a 30-minute file typically finishes in under two minutes. You don’t need to keep the page open. Close the tab, do something else, come back. Your library will be populated.
Step 4: Review and Rename
Once processing is complete, each recording has a full transcript and a structured summary — key topics, notable quotes, and any action items identified. The file names from your recorder (ZOOM0001.WAV) aren’t useful, so now is the time to give recordings meaningful titles based on what the transcript reveals.
Step 5: Search Across Everything
This is where the value appears. Instead of 40 separate files you’ll never re-listen to, you have a library you can search. Type a keyword. See every recording where it was mentioned. Click through to the exact timestamp. Find what you need in seconds instead of hours.
How to Transcribe a Folder of Audio Recordings (Not One File at a Time) goes deeper on the batch upload workflow if you’re processing a large backlog.
Already Using RECAP S2 for Phone Calls?
If you’re already using RECAP S2 to record phone calls on your device, you’re halfway there. S2 handles the capture — it records your phone calls directly on your phone, no third-party servers involved. RECAP is where those recordings become useful.
Same ecosystem, different jobs. S2 captures. AI transcribes, summarizes, and organizes. Your phone call recordings from S2 and your voice recorder files from a Zoom H1n or Sony ICD end up in the same searchable library. Search once, find results from both sources.
The voice recorder covers the conversations S2 can’t — in-person meetings, interviews, field recordings, anything that isn’t a phone call. Together, they mean fewer conversations fall through the cracks.
Your recordings are already worth something. RECAP transcribes, summarizes, and indexes them — so you can search six months of conversations in seconds. Start free — 30 minutes/month →
Frequently Asked Questions
How do I transcribe Zoom H1n recordings?
Copy the WAV files from your Zoom H1n’s SD card to your computer (they’re in the /STEREO/FOLDER01/ directory). From there, upload them to a transcription tool. For a free, one-time option, Buzz handles WAV files locally. For an ongoing system that transcribes, summarizes, and makes recordings searchable, upload them to RECAP.
What’s the best software for transcribing voice recorder files?
It depends on what you need. For free local transcription, Buzz (open-source, Whisper-based) handles batch processing without uploading files anywhere. For fast cloud-based transcription, TurboScribe and Sonix process files quickly. For a system that transcribes, summarizes, and indexes recordings into a searchable library, RECAP treats transcription as step one of a larger workflow.
Can I transcribe WAV files from a Sony voice recorder?
Yes. Sony ICD recorders typically save in MP3 format by default, though some models support LPCM (WAV) recording. Both formats work with all major transcription tools. Connect your recorder via USB or use a card reader, copy the files to your computer, and upload them to your chosen transcription tool.
How do I batch transcribe files from an SD card?
Copy all audio files from the SD card to a folder on your computer first. Then use a tool that supports batch upload — Buzz (free, local), TurboScribe (cloud), or RECAP (cloud, with summaries and search). Avoid tools that only process one file at a time; with 20+ recordings, single-file workflows become impractical.
What audio formats do voice recorders use?
Zoom recorders (H1n, H4n, H6) default to WAV (uncompressed, high quality, large files). Sony ICD recorders default to MP3 (compressed, smaller files). Olympus recorders vary by model — the WS series often defaults to MP3, while the LS-P5 defaults to FLAC. Older Olympus models may use WMA. All of these formats are supported by modern transcription tools.